Summary: This project shows how to control a servo motor with a joystick using an Arduino Uno R3. The joystick’s X-axis readings are mapped to servo angles for precise movement. It covers components, wiring, Arduino basics, code structure, and real-world uses such as robotic arms, pet toys, RC cars, and camera gimbals.
Project description:
Do not worry everything will be explained easily even the code and basic of an Arduino :).
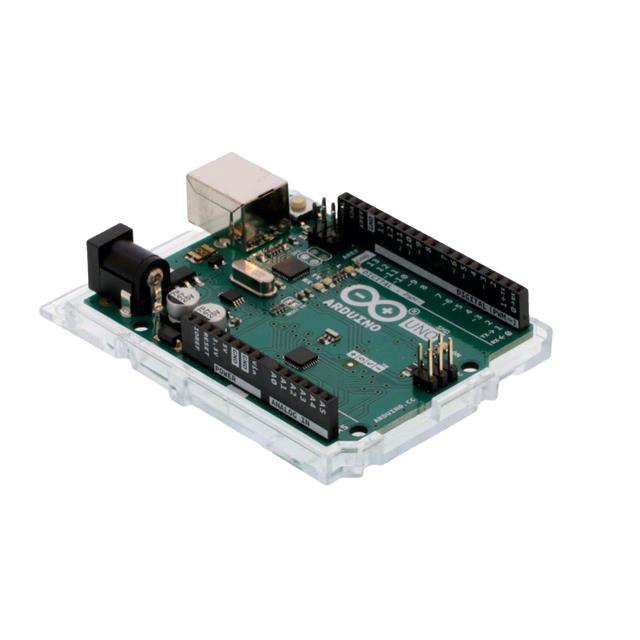
The goal of this project is to learn how to control a servo motor using a joystick module and an Arduino—in our case, the Arduino Uno R3. (Code explanation included.)
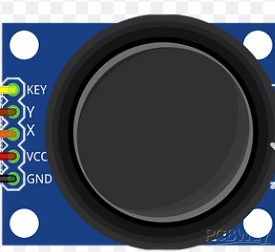
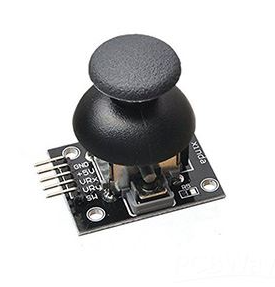
The joystick measures the movement of its stick in different directions and transmits the position as values.
The servo motor adjusts its position to a specific angle based on the input signal.
Together, the joystick and servo allow for precise control of direction and position.
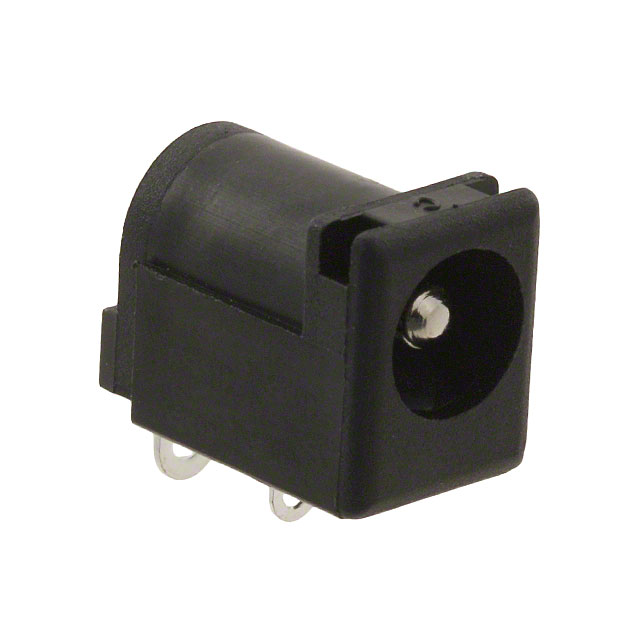
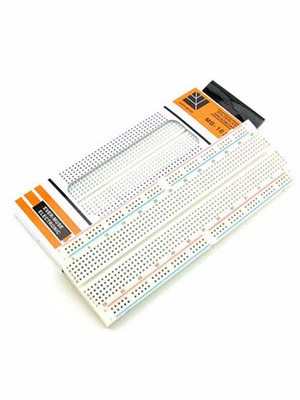
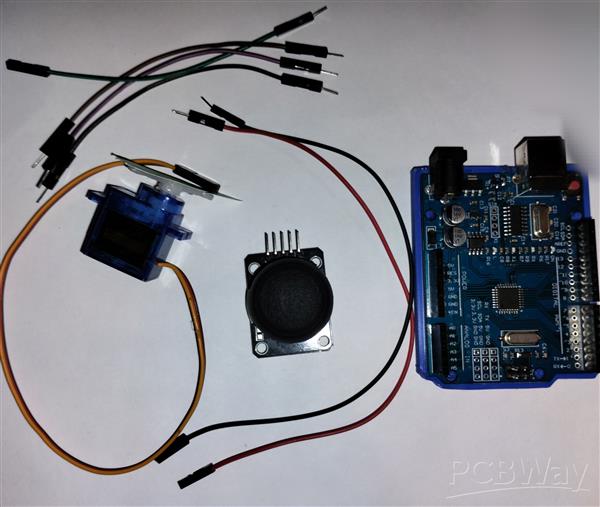
What Do I Need?
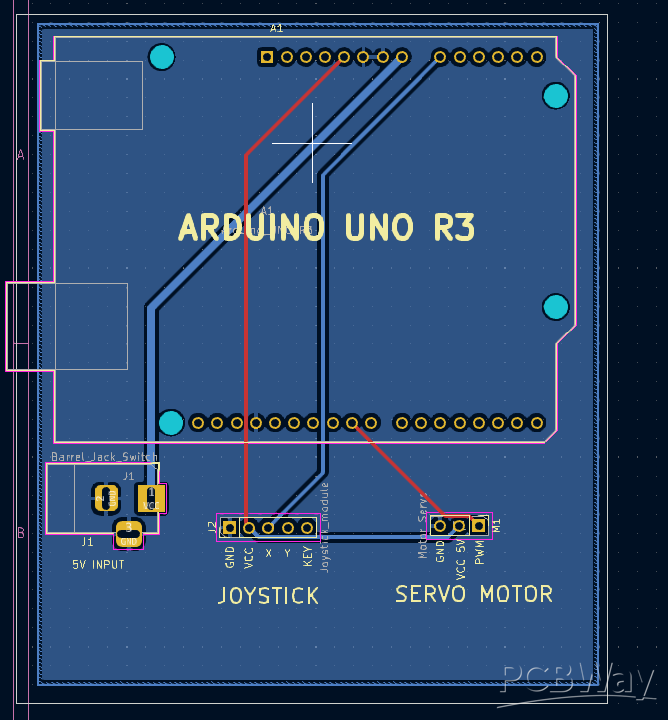
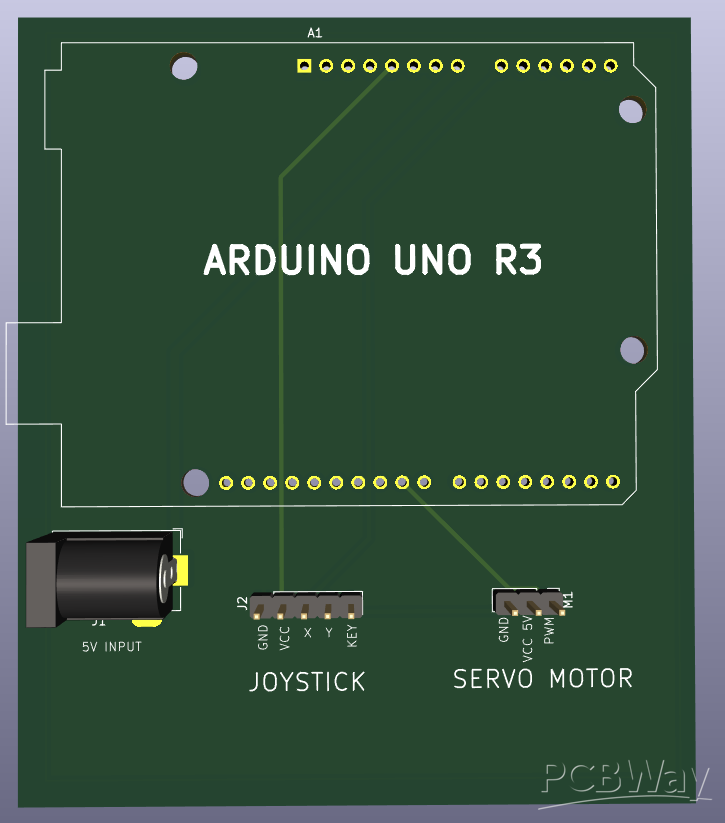
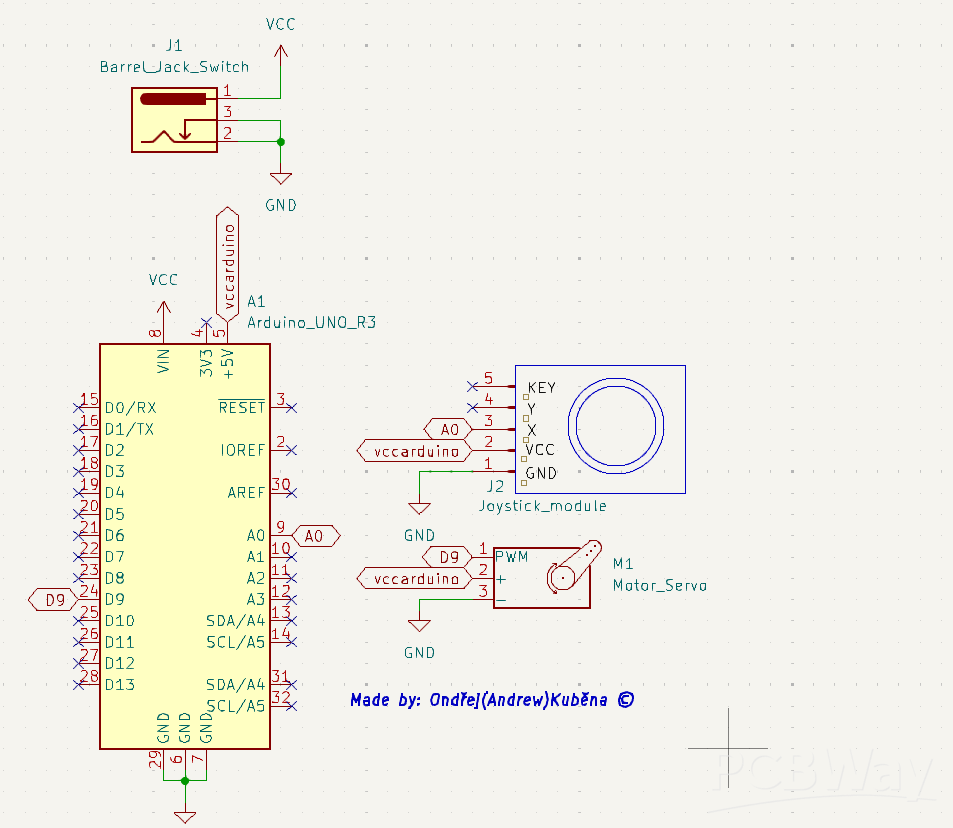
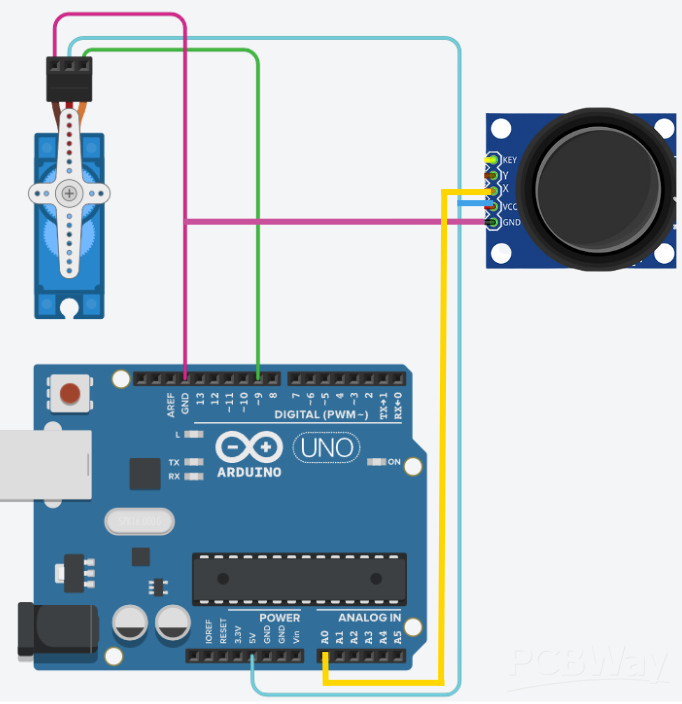
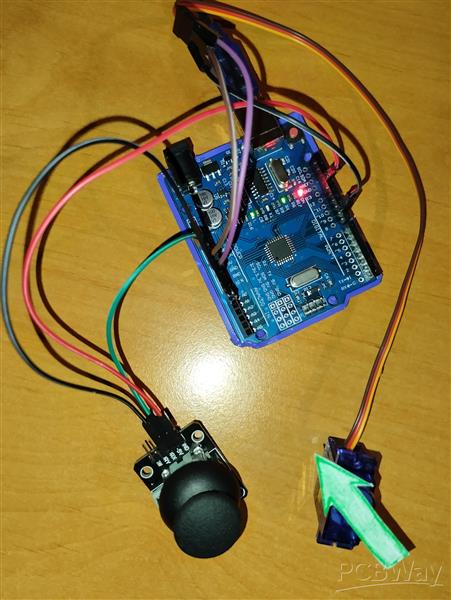
Image version:
Wiring
Code & Setup
How Does This Code Work?
Arduino Basics (For Beginners)
setup() → runs once when powered on
loop() → runs continuously while powered
Real-World Applications
By combining a joystick and servo control, you can create:
Control each joint with a joystick for precise movement.
Great for pick-and-place machines or DIY robots.
Create moving toys for cats and dogs.
Control treat dispensers or small interactive gadgets.
Use the joystick to control steering (servo) and throttle (motor driver).
Perfect for remote-controlled boats, cars, or tanks.
Smoothly aim a camera by controlling servo motors with a joystick.
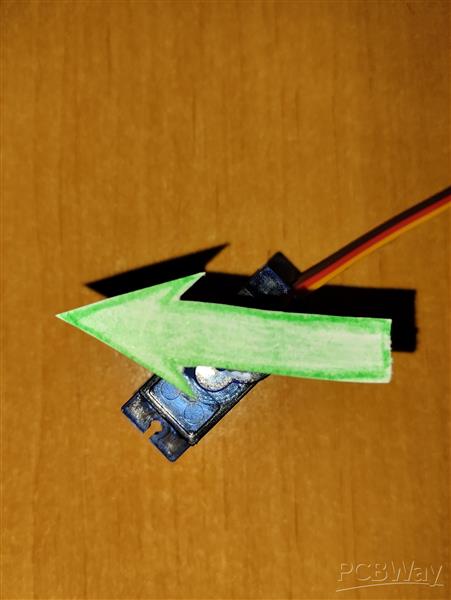
Expected Result
➡ Right Movement | Center Position | ⬅ Left Movement
The servo will precisely follow your joystick’s position, allowing smooth and accurate control—ready to be expanded into larger robotics or automation projects.
Gerbers, KiCad schematics, BOM, ZIP Files, Layouts all included here and on GitHub: Link: https://github.com/Ondrak-123/Arduino-basics

|
arduino IDEArduino
|
|

|
KiCad 9.0 |
|

|
Google Sheets |
#include <Servo.h>

Servo myServo;               // Create Servo object
int joystickXPin = A0;       // Pin connected to joystick module (VRx)
int servoPin = 9;             // Pin connected to servo

int servoAngle = 90;          // Default servo angle (center position 90°)
int tolerance = 10;           // Tolerance for joystick center position (to prevent drift)

void setup() {
  myServo.attach(servoPin);   // Attach servo to pin
  myServo.write(servoAngle);  // Set default servo position to center (90°) since we have a 180° servo
  Serial.begin(9600);         // Initialize serial communication (for debugging)
}

void loop() {
  int joystickX = analogRead(joystickXPin);   // Read joystick value (VRx)

  // Map joystick values (0 - 1023) to servo range (0 - 180°)
  if (joystickX > 512 + tolerance || joystickX < 512 - tolerance) {
    servoAngle = map(joystickX, 0, 1023, 0, 180);
    myServo.write(servoAngle);  // Set servo according to joystick
  }

  // Small delay for stability
  delay(10);
}